|
|
|
|
 |
| Site Contributors |
|
 |
| Carlo Borlenghi |
| Stefano Gattini |
| Bruno Cocozza |
| Guido Trombetta |
| Luca Buttò |
|
|
 |
| Michael
McCoy |
|
|
 |
| Morris Adant |
|
|
 |
| Peter
Andrews |
|
|
|
| |
|
|
| Page 2. |
|
|
 |
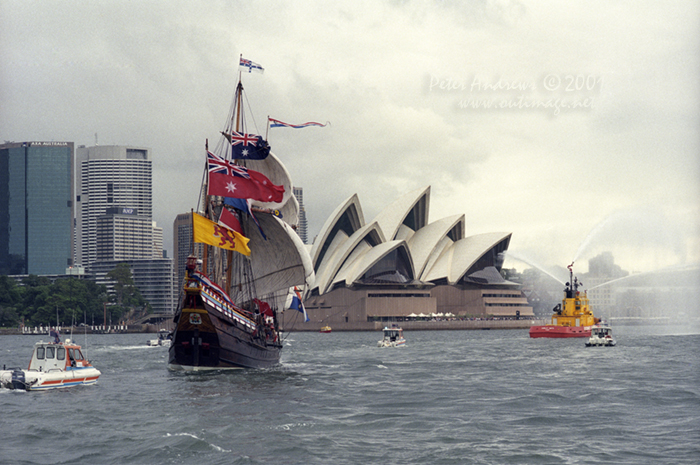
Duyfken under full sail, banners and flags approaches Sydney's sails of the Opera House, Saturday, March 3, 2001.
Photo © Peter Andrews / Outimage. |
|
|
|
 |
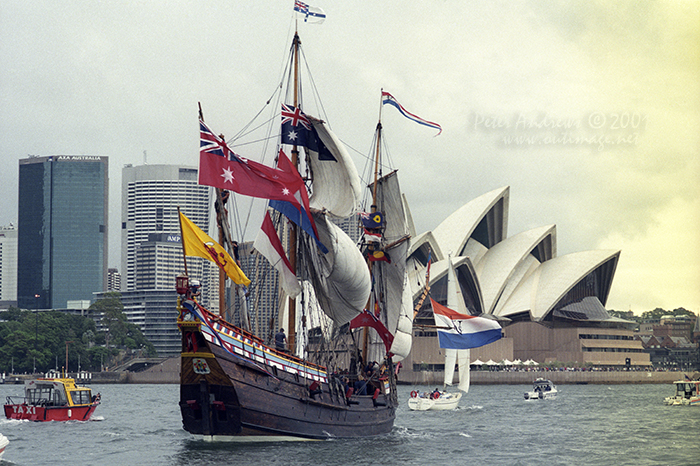
Duyfken under full sail, banners and flags approaches Sydney's sails of the Opera House, Saturday, March 3, 2001.
Photo © Peter Andrews / Outimage. |
|
|
|
 |
Duyfken under full sail, banners and flags approaches Sydney's sails of the Opera House, Saturday, March 3, 2001.
Photo © Peter Andrews / Outimage. |
|
|
|
 |
Duyfken sailing towards the Sydney Harbour Bridge, Saturday March 3, 2001.
Photo © Peter Andrews / Outimage. |
|
|
|
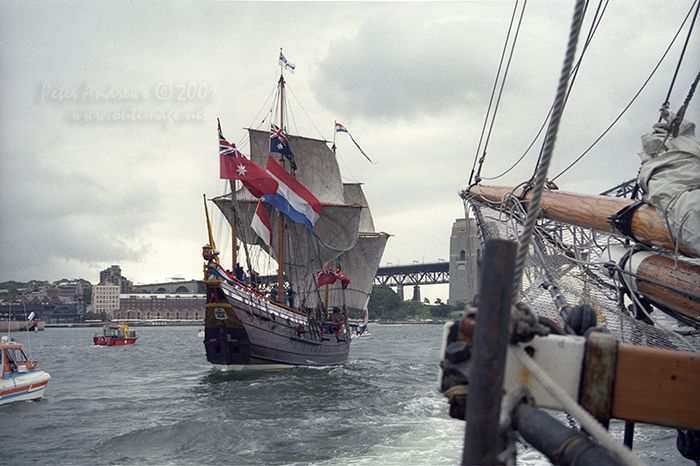 |
Duyfken seen from the bow of the Tasmanian tallship Windeward Bound on Sydney Harbour, Saturday March 3, 2001.
Photo © Peter Andrews / Outimage. |
|
|
|
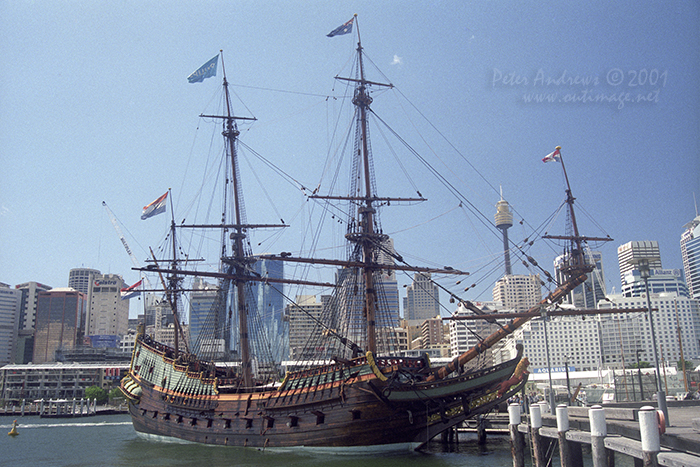 |
The beautiful replica of the early 17th century Dutch ship Batavia at Sydney's Australian National Maritime Museum.
Photo © Peter Andrews / Outimage. |
|
|
|
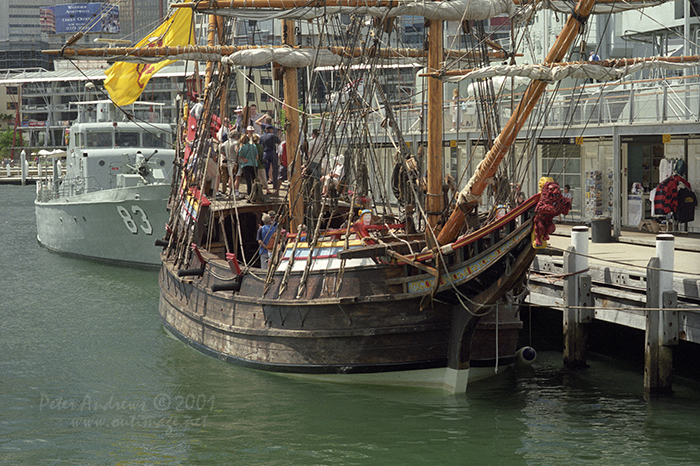 |
Duyfken at her berth at the Australian National Maritime Museum, Sydney, Sunday March 4, 2001.
Photo © Peter Andrews / Outimage. |
|
|
|
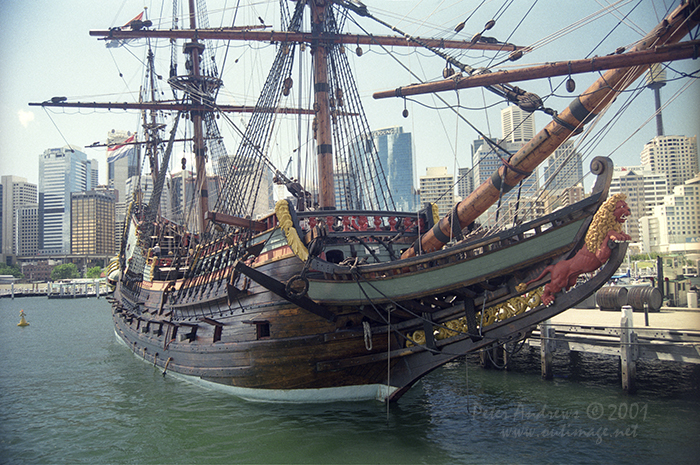 |
The beautiful replica of the early 17th century Dutch ship Batavia at Sydney's Australian National Maritime Museum.
Photo © Peter Andrews / Outimage. |
|
|
| Outimage Publications © 2001-2021. |
|
|
|


