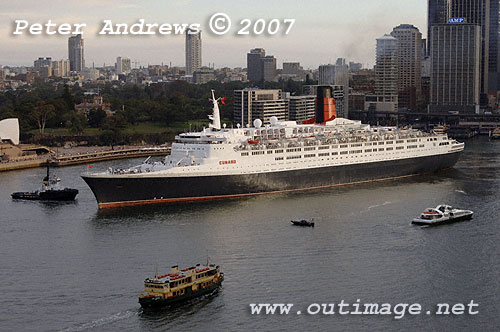
QE2 departs Circular Quay Sydney.
070222_D2X7134
|
|
|
 |
 |
A shaft of sunlight reflects off the QE2 as it departs Circular Quay Sydney.
070222_D2X7138
|
|
|
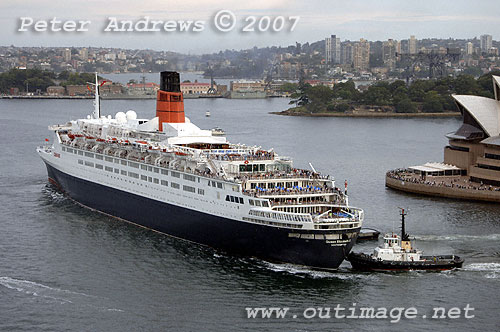
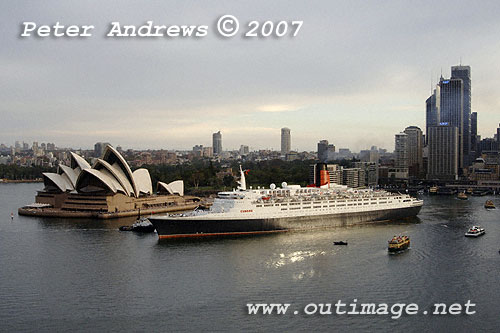
QE2 passing the Sydney Opera House on Bennelong Point.
070222_D2X7165
|
|
|
|
 |
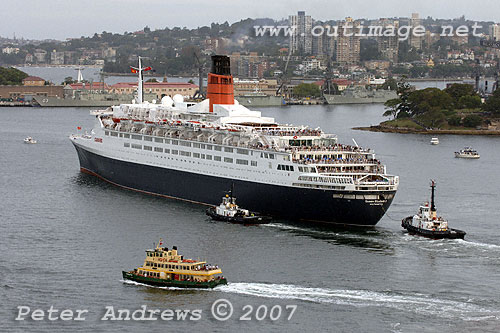
QE2 escorted down Sydney Harbour by the tugs Korimul from Port Kembla NSW and the local tug Wooli.
070222_D2X7183
|
|
|
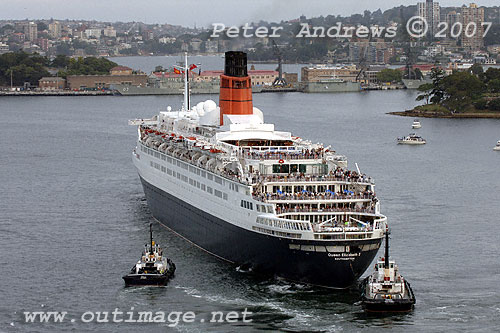
QE2 with Sydney's Garden Island Naval Dockyard in the background.
070222_D2X7212
|
|
|
|
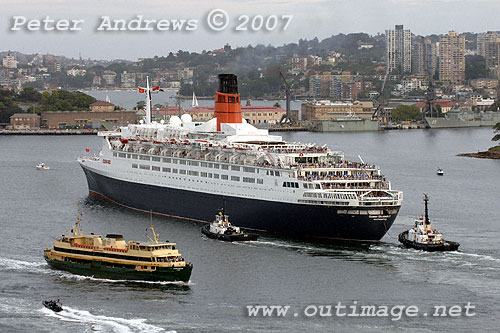 |
QE2 with Sydney's Garden Island Naval Dockyard in the background.
070222_D2X7221
|
|
|
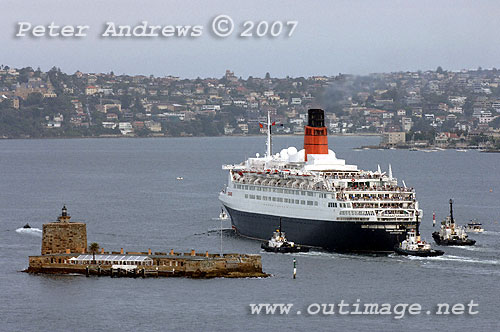
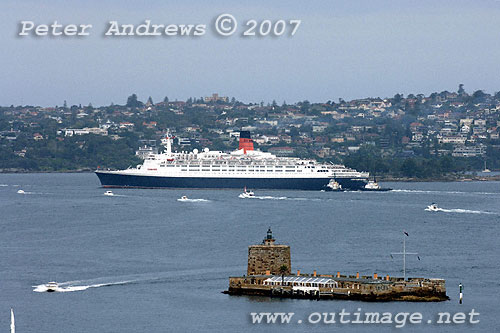
QE2 passes Sydney's Fort Denison, the third tug escort is the Wonga from Sydney.
070222_D2X7268
|
|
|
|
 |
QE2 rounds Bradleys Head with Shark Island and Vaucluse in the background.
070222_D2X7294
|
|