| Leg 2 (Day 2) - Bogan River
to Broken Hill. |
Page 3. |
 |
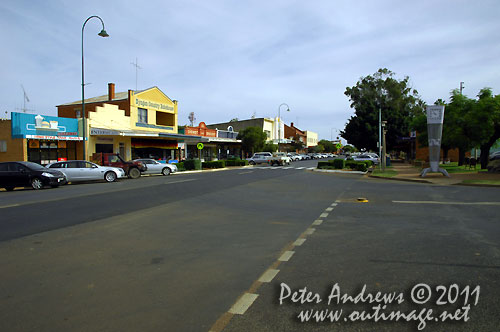
Nyngan, NSW Australia.
Photo © Peter Andrews, Outimage Australia.
|
 |
|
|
Nyngan, NSW Australia.
Photo © Peter Andrews, Outimage Australia.
|
 |
|
|
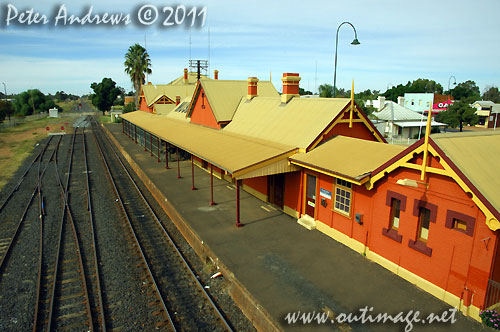
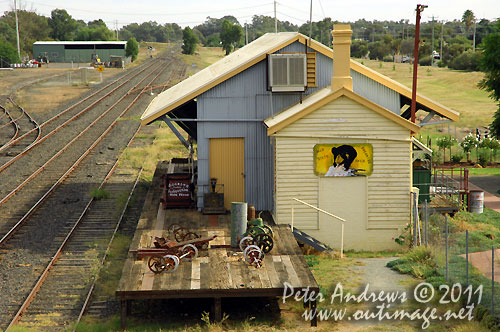
Nyngan Railway Station, NSW Australia.
Photo © Peter Andrews, Outimage Australia.
|
 |
|
|
The Goods Shed at Nyngan Railway Station, NSW Australia.
Photo © Peter Andrews, Outimage Australia.
|
 |
|
|
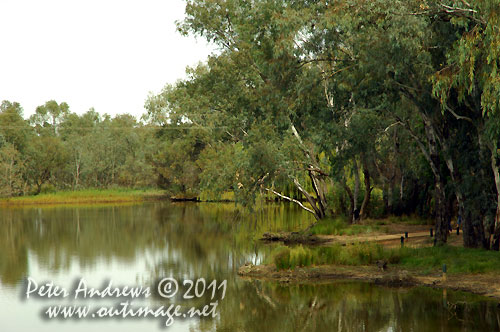
The Bogan River, Nyngan, NSW Australia.
Photo © Peter Andrews, Outimage Australia.
|
 |
|
|
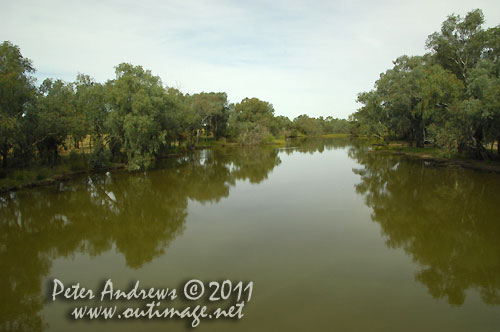
The Bogan River, Nyngan, NSW Australia.
Photo © Peter Andrews, Outimage Australia.
|
 |
|
|
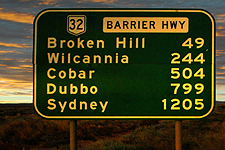
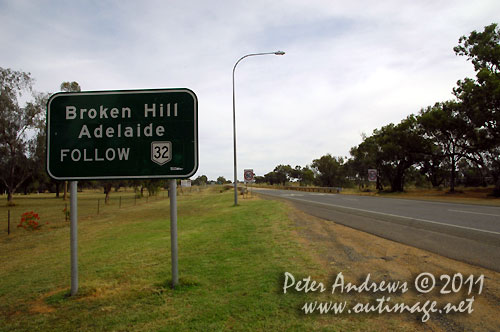
Directions from Nyngan, NSW Australia.
Photo © Peter Andrews, Outimage Australia.
|
 |
|
|
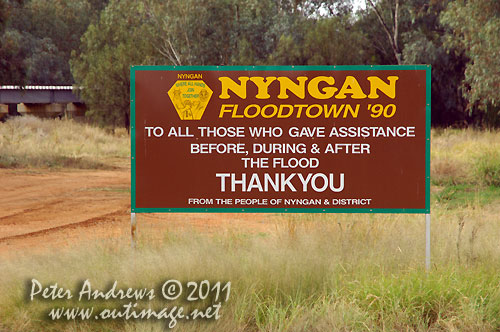
Gratitude from Nyngan, NSW Australia.
Photo © Peter Andrews, Outimage Australia.
|
 |
|
|
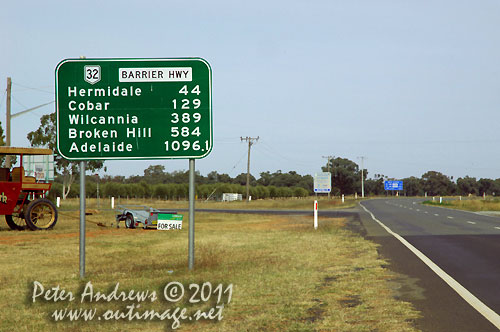
Distances from Nyngan, NSW Australia with a bit of humour thrown in. The extra
100 metres to Adelaide is not going to make much of a difference to the the
long drive ahead, as seen in the following photographs.
Photo © Peter Andrews, Outimage Australia.
|
 |
|
|
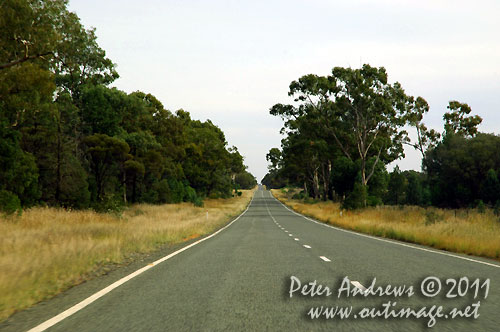
The long endless straight sections of Barrier Highway, are a feature from Nyngan
to Cobar, NSW Australia.
Photo © Peter Andrews, Outimage Australia.
|
 |
|
|
| Link
to Leg 2 (Day 2) - Nyngan and the Bogan River to Broken Hill (Page 4). |
|
| Peter Andrews and
Outimage © 2011 |