| Leg 2 (Day 2) - Bogan River to Broken Hill. |
Page 4. |
 |
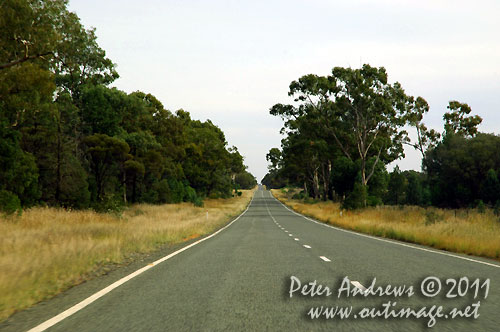
The long endless straight sections of the Barrier Highway between Nyngan
to Cobar, NSW Australia.
Photo © Peter Andrews, Outimage Australia.
|
 |
|
|
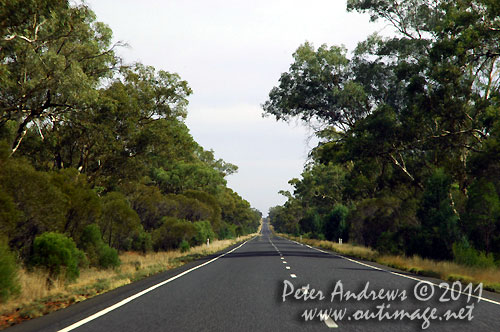
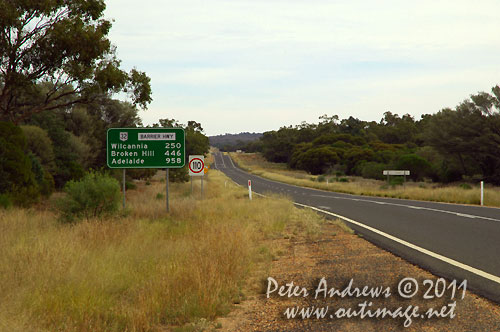
The Barrier Highway between Nyngan
to Cobar, NSW Australia.
Photo © Peter Andrews, Outimage Australia.
|
 |
|
|
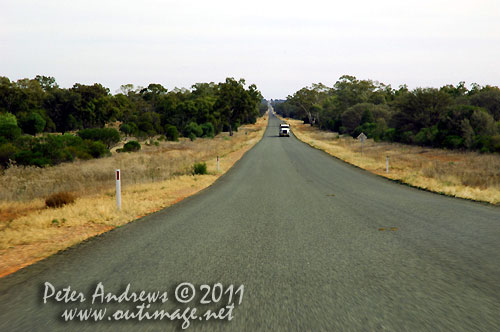
The Barrier Highway between Nyngan
to Cobar, NSW Australia.
Photo © Peter Andrews, Outimage Australia.
|
 |
|
|
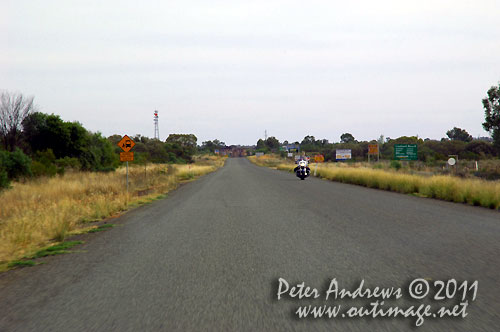
A lone biker heading out of Cobar on the Barrier Highway, NSW Australia.
Photo © Peter Andrews, Outimage Australia.
|
 |
|
|
Arrival to Cobar on the Barrier Highway, NSW Australia.
Photo © Peter Andrews, Outimage Australia.
|
 |
|
|
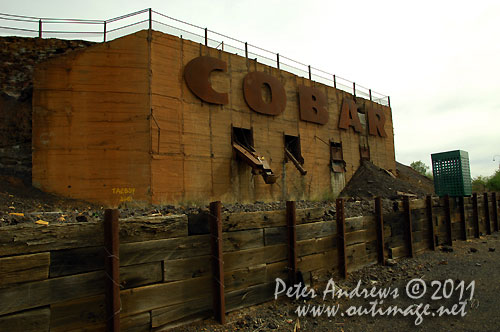
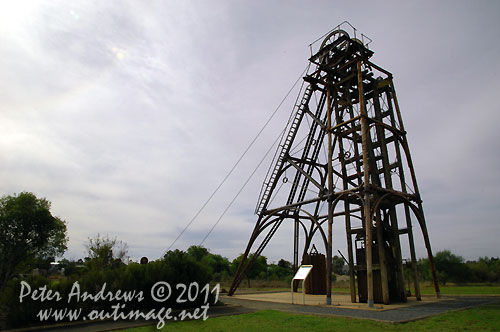
Cobar, NSW Australia.
Photo © Peter Andrews, Outimage Australia.
|
 |
|
|
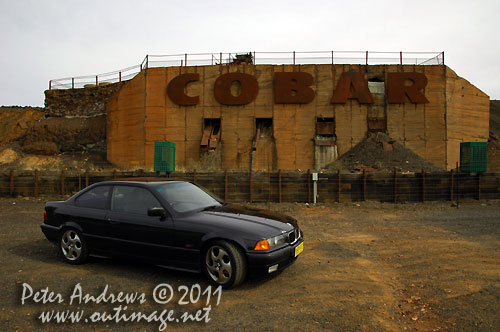
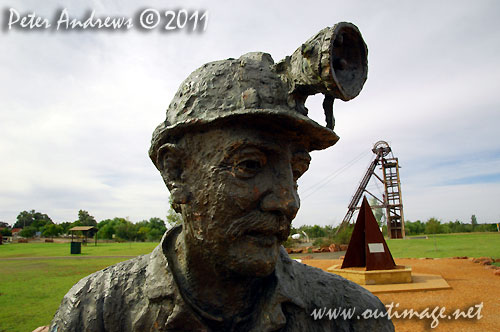
Cobar, NSW Australia.
Photo © Peter Andrews, Outimage Australia.
|
 |
|
|
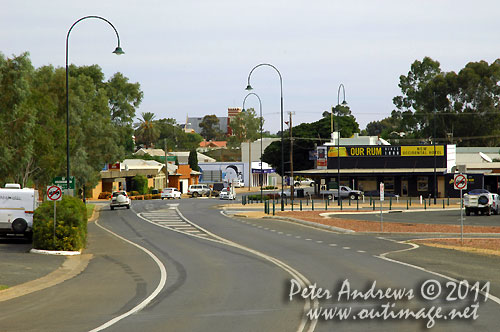
Cobar, NSW Australia.
Photo © Peter Andrews, Outimage Australia.
|
 |
|
|
Cobar, NSW Australia.
Photo © Peter Andrews, Outimage Australia.
|
 |
|
|
Back on the Barrier Highway, NSW Australia and heading towards Wilicannia.
Photo © Peter Andrews, Outimage Australia.
|
 |
|
|
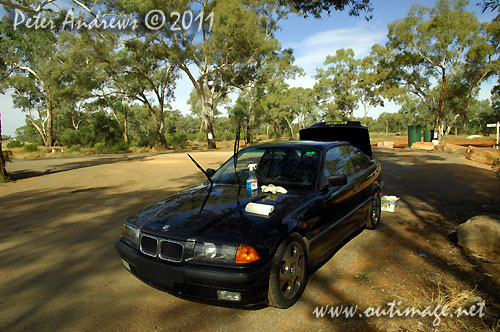
A break from the endless highway to clean the splattered bugs off the windscreen
and to top up the fuel from a jerry can. Driving into the sun from here
and so a cleen screen makes a huge difference.
Photo © Peter Andrews, Outimage Australia.
|
 |
|
|
| Link to Leg 2 (Day 2) - Nyngan
and the Bogan River to Broken Hill (Page 5). |
|
| Peter Andrews and
Outimage © 2011 |