

|
 |
A
Record Breaking Finish
December
28, 2005.
|
||
|
||
|
||
|
||
|
||
|
||
|
||
|
||
|
||
|
||
|
||
|
||
|
||
|
||
|
|
|||||||||
|
|||||||||
|
|||||||||
|
|||||||||
|
|
|||||||||
|
|||||||||
|
|||||||||
|
|||||||||||||||||||||||||||||||
|
|||||||||||||||||||||||||||||||
|
|||||||||||||||||||||||||||||||
|
|||||||||||||||||||||||||||||||
|
|||||||||||||||||||||||||||||||
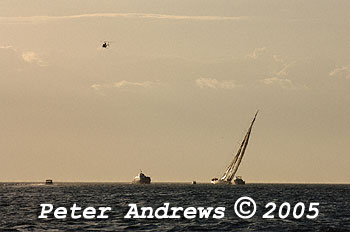
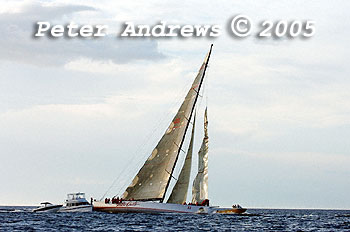
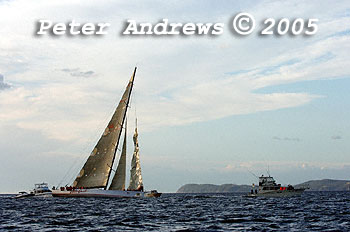
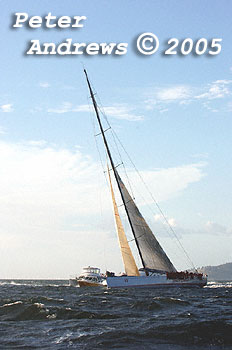
A
Record Breaking Finish |
|||||||||||||||||||||||||||||||
|
|||||||||||||||||||||||||||||||
| Wild Oats smashes the race record | |||||||||||||||||||||||||||||||
|
|||||||||||||||||||||||||||||||
| By Peter Andrews | |||||||||||||||||||||||||||||||
|
December
28, 2005.
|
|||||||||||||||||||||||||||||||
|
|||||||||||||||||||||||||||||||
|
|||||||||||||||||||||||||||||||
|
|||||||||||||||||||||||||||||||
| Additional Text Space | |||||||||||||||||||||||||||||||
|
|||||||||||||||||||||||||||||||
|
|
|||||||||||||||||||||||||||||||
|
